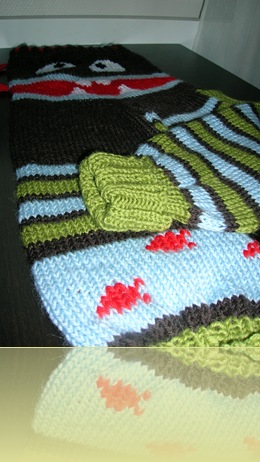
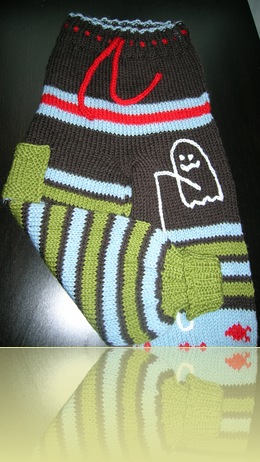
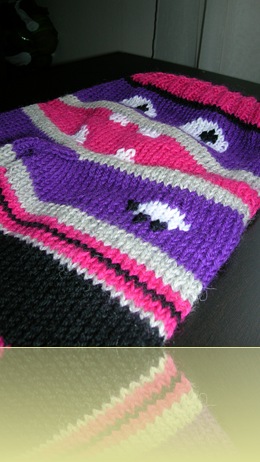
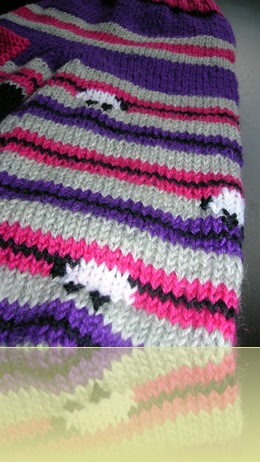
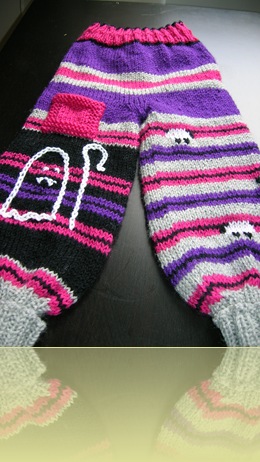
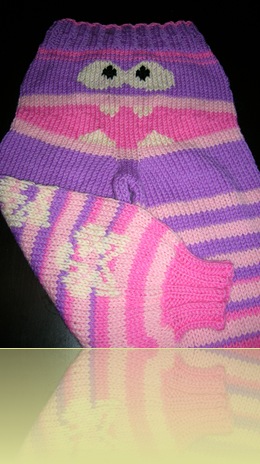
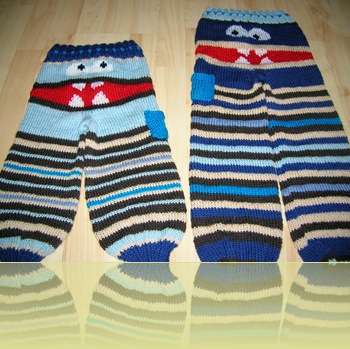
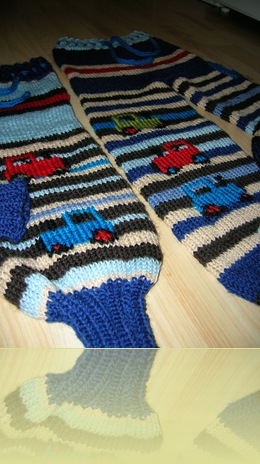
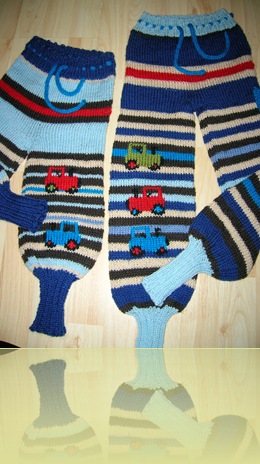
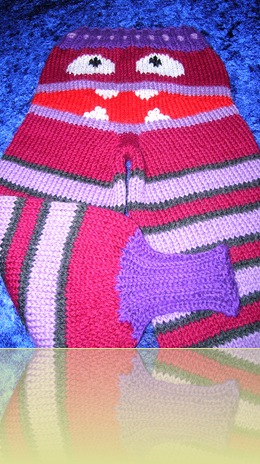
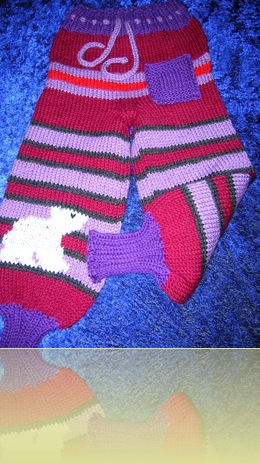
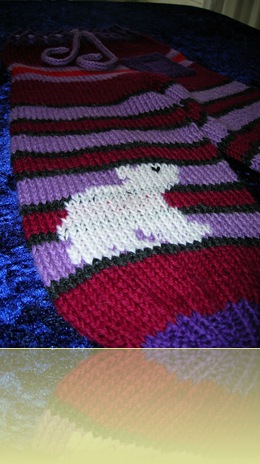
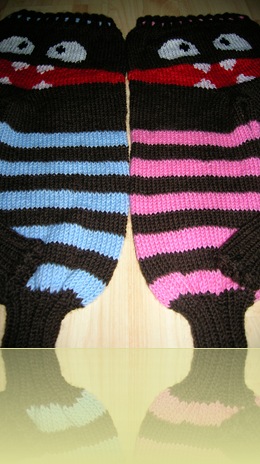
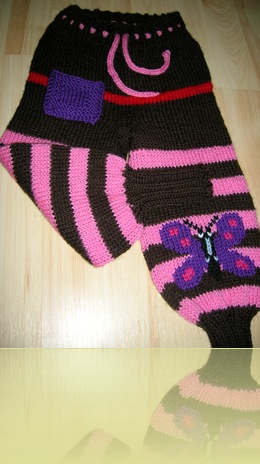
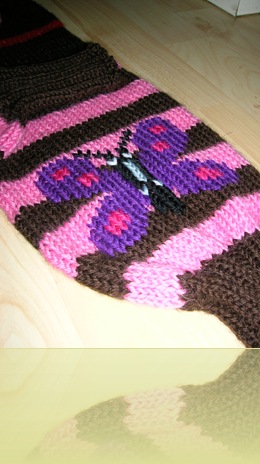
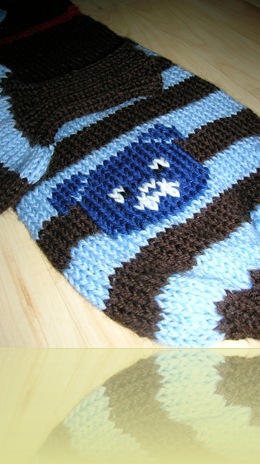
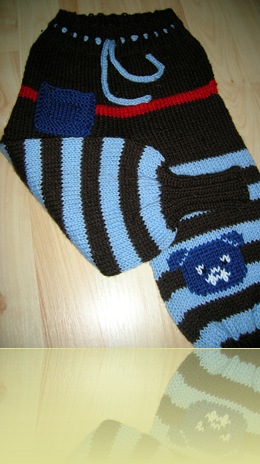
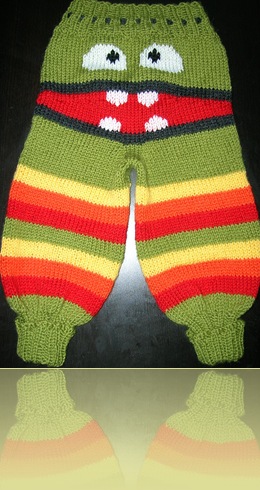
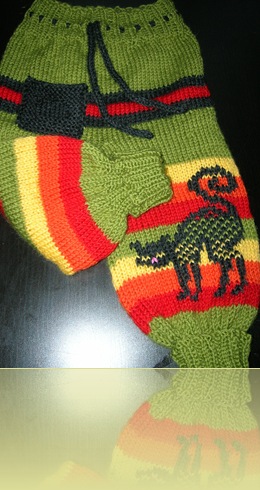
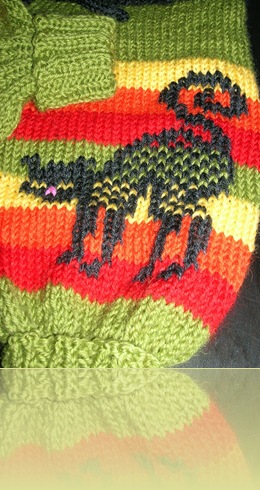
It’s been a while since last update. I have been busy, with many things. And one of them has been producing monsterlongies. Lots of them…



The fifteenth day, of the tenth month, of the Khmer calendar marks the Pchum Ben festival. This is a time when the spirits of the dead ancestors walk the Earth. And the living can ease their suffering by offering them food to eat.
Throughout the country, families will gather to make food and cakes in honor of the festival. The nom ahnsahm is a linga-shaped cake made with a layer of sticky rice laid in a banana leaf with spread of bean and pork lard. Traditionally, the leaf is wrapped into a roll and the phallic cake tied with the fibre of the banana tree “trunk” and steamed in a large pan.
When I first happened upon this somewhat, in western eyes, untraditional cake, I instantly loved it. So this year hubby and me decided to make them at home. Or, that would be, I asked hubby if he wanted to make them for the festival, to which he replied that he would love to eat them but he would prefer not to have to make them. Anyway, to make a long story short, I made them.
They are fairly easy to make, but quite time consuming. And of course, the wrapping can be a rather messy affair, but when you master that there is no secrets to makeing these at all.
You need sticky rice, which you soak in water at least for a couple of house, then drain, and mix generously with salt and pepper and shredded coconut. I used the dried one you can buy at any grocery shop, work like wonders. Yellow beans, also soaked for a couple of hours and drained. Pork meat, fatty meat makes the cakes tastier, cut into strips and seasoned with salt and pepper and quite a lot of garlic. Well, I use fatty meat, in Cambodia there is common to only use fat or lard. And of course banana leaves and some string.
In order to get the banana leaves soft and pliable enough to be able to roll rice into them, you will need to give them a quick boil. When raw banana leaves are quite stiff and brittle, but turn soft and a lovely shade of green after a few seconds in boiling water. If they are not soft enough, then give them a few more seconds.

Then you make the cake. You take a sheet of banana leaf, put on a layer of the coconutty rice, a layer of yeallow beans, and then pork at the top. Then you roll the leaf together to for a tube, fold in the ends, and tie it off. Make sure that the bananaleaf do overlap as the rice do expand a bit when cooked. After all the cakes are prepared, then put into a large pot, cover with water, and leave to simmer for 3-4 hours. Yummy!!!!
I have wanted to make spring rolls for a long time now, but had somehow talked myself into believing it was such a hassle. Especially the deepfrying part, as I don’t have a deep fryer and would thus have to use an ordinary skillet and lots of oil (come to think of it, that is pretty much the same deal as with a deep fryer…).
But, i was playing with an idea of making mini-sized pies, and I thought about using spring roll wrappers. Well, mini-sized pies did not happen, but spring rolls did (and some spring packets as I played around with shapes).
The first batch got a korean-inspired filling, while the second batch got a more traditional vietnamese filling. Both were super-duper yummy!!!!! I will definitely be making these again. And as I discovered that they get just as crunchy when baked in the oven, I don’t even have to mess around with all that oil and skillets and stuff…
Korean inspired spring roll filling
Chop beef, mushrooms, and onion into small pieces.
Put sesame oil, dark soy sauce, and grated garlic into a skillet. Let simmer on low-medium heat until thickened. Turn up the heat and add the beef, mushrooms, and onion. Fry until mushrooms and onions turn soft. Add Thai curry and sourcream. Let it simmer for a bit, and then season it with sugar, salt, and pepper to taste. Remove from heat.
More traditional vietnamese spring roll filling
Mix everything well. To check taste, take a small lump of the mix and pop it into the microwave for 30 sec or so. Adjust seasonings if needed.
Then, take out your spring roll wrappers. It is normally sold frozen, so need to defrost on the counter before use. After defrosted, separate and keep under a damp towel.
Take one wrapper and add some filling closer to the corner. Don’t be too greedy, it is not a burrito. One tablespoon, or slightly more, is enough, you want to be able to roll it.
Then fold the bottom corner over the filling, roll once, then fold both sides in, and finish the roll. Very easy.
Put on a baking tray with seam down, and pop in the oven on 175-200 for 30 minutes or so. You might want to turn them over once after 20 minutes to get them crisped up all over. Serve with sweet chilisauce, or other condiment to you liking. Enjoy!!
Spring rolls don’t keep their crunch in the fridge, so either make only what you are going to eat in one sitting, or expect to eat slightly chewy spring rolls later (they are still yummy though).
This christmas I will become stephaunt to a new world citizen, a little girl. Which means that I now have a small girl to make cute babyclothes to. So, this pattern for Lazy Daisy Baby Jacket from Pickles had been hanging around in my ‘would-like-to-do’ pile for a while now, and this was the perfect opportunity. I changed it around (which I do) a little bit. Instead of knitting it in garter stitch I used stockinette, as I do think that looks nicer. It is all done now, and is just waiting to get a bath and to be blocked gently into shape. It looks so small though!!!
Spare ribs is something which is suprisingly difficult to get hold of in Norway. And when one does it usually is already marinated in bbq sauce and cost an arm and a leg. I don’t really like that for two reasons, firstly, I ma not willing to pay an arm and a leg for something which is mostly bone, and secondly, I am not in particularly fond of the bbq sauce slapped onto the meat. So, when I do happen to come across spare ribs without anything and priced reasonably, I am one very very happy camper.

I was very happy with this sauce and I thought I would share. This was almost two kiloes of meat and bone.
Wandering Lady’s Wonderful BBQ Sauce
Mix well, massage into the meat, and let sit for at least an hour. Cook in the middle of the oven for at least two hours on 175 celsius until the meat falls off the bone. Towards the end I will cover the meat with foil or baking paper, and just before it is done I will remove the cover, turn on the grill and crisp it up. Yummy!!!!!
Wouldn’t you know it, a monster managed to sneak into this abode as well. Wonder if he has any friends?
Sometime around mid-pregnancy my crafts-and-arts genes (which had been laying dormant for oh sooo long) suddenly flared up. Big time!! I remember a childhood filled with enthusiastically-started-somtimes-finished-always-thouroughly-enjoyed arts and crafts projects. I owned several old sewing machines inherited from my step-grandma, for a while I would create and sew small jackets made from scrap fabric for all my friends, I also had a line of rather creative-looking skirts, and I loved and used all my home-made trousers in various fabrics (one of my favourites were a pair made in a shiny curtain material – those were worn to an inch of their shiny lives). One christmas everyone in my family got home-made beanies which were recieved with various levels of enthusiasm. I could populate a small country with all the figurines I made from salt dough, lovingly created and tenderly painted. I filled boxes of boxes with drawings and paintings, both acrylic, oil, and aquarelle. I made bracelets from pearls and crocheted small hearts to hang on the christmas tree, I did paper cut-outs and origami, and made miles of friendship bracelets. I loved to make things!!! But then I grew up, and other activities became more interesting. Although I sporadically dawdled in crafty things, I didn’t really spend much time nor energy on it. Until now…
It all started quite innocently with a baby blanket. A knitted baby blanket. And then I had to make a wool jacket for Wanderbaby, and then a wool hat for Wanderbaby, and then Hubby wanted a wool beanie… and then I was hooked.
I have memberships at various craft forums, I have a folder in Favourites just for knitting, crocheting, and scrapping. I have recently bought loads of yarn on an internet auction, and then sitting on pins and needles for a week before the pack arrived and I could happily announce that I had not been scammed. If we need to give a present to someone, I instantly think of what I can make. Mum will babysit, hmm.. maybe I will make her a No-Knead Bread and Bolero as thanks. Someone is getting a new baby, hmm... some cute baby socks or a bonnet would be nice to give. A kid from Wanderbaby’s kindy has her first birthday, hmm… let’s crochet her a hat…
And it doesn’t stop there. I have now been known to churn my own butter (yes I know) and make my own cheese. The cheese was fun to make but will probably not be made again, but the butter was lovely. And so i do. I make my own bread, nice chewy No-Knead Bread for me and hubby and a bit not-so-chewy bread for Wanderbaby.
I am teased by friends and family. Recently, at a house-warming party thrown by one of my friends, I was duly introduced as The Wandering Lady, she churns her own butter! Among the mums at Wanderbaby’s kindy I am now known as That Mum, that kind of mum who will wake up early in the morning to cook lovely foodstuff for Wanderbaby to take as lunch, the mum who does not let Wanderbaby have chocolate or other sweet stuff, but instead load his snack box with dried apricots, raisins, and rice cakes… Suddenly, without noticing I turned into an alternative woman. Nothing wrong with that, but just so alien to the me I once thought I was. Next thing I know, I will have to get my own chickens and maybe a cow…
Come to think about it, i do have a cow or two lying around here somewhere…
So, went to Ikea and got Wanderbaby his own small chair. Not so much because we needed a small chair, but more so because he looked so cuuuuute in it. But, as the chair didn’t come with any type of pillow or padding, and the rattan looked a bit uncomfy, I decided to also make a pillow for it.

Thus we also bought one of the comforters and we came across this blue fleece-like blanket on sale. So, with some needles, a pair of scissors, newspaper to make a pattern from, and some yarn, I was ready to go.
After using the newspaper to measure the size of the chair, cut the blanket into the right shape, I then stiched the edging with the yarn. I thought as the fabric was a bit like felt that it would look rather handsome with a visible rough type of stitch. I remember making a doll once at primary school where the teacher taught us this stitch. Not sure about the name for it, but sooo easy to do.
Then it was time to ripe the comforter apart, and use the filling inside to fill my pillow. A couple of stitches to mimic buttons (and to hold the filling in place), and tadaaaa, the pillow was all done!!!!
The bonnet was dult wrapped and delivered to hubby’s friend, and then tried on. So, this mummy has obviously forgot how small newborn babies are, because the poor thing almost drowned in the bonnet. Oh well, she will grow into it though. Anyway, seeing that it was knitted from cotton it would be more appropiate in the spring.
Then a kiddy from Wanderbaby’s kindergarten had her first birthday, so this crafty mum decided to make her a present as well (yup, any excuse to make cute pink things for girls…).
After a bit of looking for something cute to make on the net, I decided to try to crochet a hat for her. I haven’t crocheted since childhood, and were a bit curious how it could be.

But, the end result turned out pretty darn good if I might say. And crocheting is so fast compared to knitting. This hat, flower and all, took me less than a day to finish up. Looking at it makes me long for a small girl for my own though…
The pattern were also from Drops, which has lots of great and free patterns for both knitting and crocheting (and no, I do not get paid for promoting the site (‘’,)).
I am absolutely devoted to Pickles, which is a great blog. It provides free patterns for knitting, crocheting, and other fun craft projects, as well as yummy yummy recipes. The Bolero in a previous post was from Pickles and with the left-over yarn from that project I decided to knit Oh, Handsome Sweater for Wanderbaby.
We changed the pattern a tiny bit. First I used needles 5 instead of 4, which meant I had to adjust the number of stitches as well. I also wanted to have a raglan sleeve as I think raglan sleeves are sooooo nice-looking.
Today, hubby told me that on friday he is going to visit a girl from his school who gave birth to her first child just a couple of days ago. He also wondered what he was supposed to bring. Seeing that we are kind of on an extremely tight budget this month any gift would have to be on the cheap side. But, as I am currently in a racer-knitting-mode I decided that if one cannot buy one will make. And it doesn’t hurt that I am dyyyying to knit cuuuute girlie things. I mean, I love having a boybaby, but one cannot deny that there are more cutsy things for girls in the clothes department. So, after surfing a bit on the net looking for a knitting pattern for cute baby booties, I ended up with a really cute pattern for a baby bonnet from Drops. As the only girly colours I had left in my yarn pile were the beige and hot pink from Linnea’s top, those would have to do.
So, after a few (too many) false starts things are finally getting somewhere. I love the colour combination though!
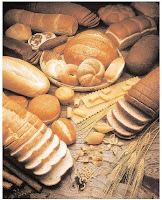 I decided to be a good mum and make my own bread so that munchkin could have yummy homemade bread in his packed lunch for kindergarten. Last time I tried, the more chewy texture of my no-knead bread proved to be too chewy for muchkin’s limited chewing abilities and he ended up gagging on it a bit too much for my liking. So, we went back to store-bought bread. But as munchkin has now greatly improved his chewing skills and eating skills in general, and is now devouring dried apricots, hard rice, and everything else by the fistfull, I have now decided that the time has come to try again.